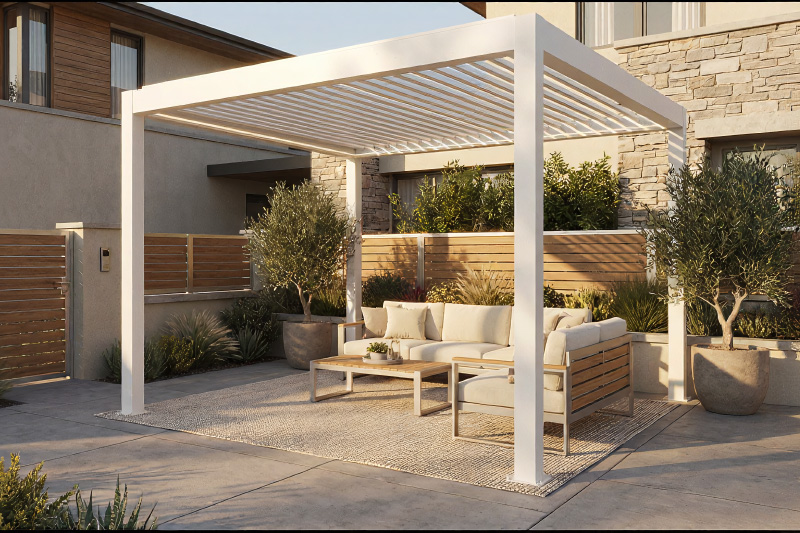
The Complete Aluminum Pergola Installation Process for Outdoor Projects
November 6, 2025
Still struggling with aluminum pergola installation? This ultimate pergola installation guide covers everything from pre-installation planning to daily upkeep, making your outdoor pergola installation smooth, efficient, and hassle-free.
Whether you’re a DIY enthusiast aiming for self-installation or a business seeking reliable custom pergola installation services, we’ve packed this guide with actionable pergola installation tips and step-by-step instructions. Let’s get started!
Pre-Installation: Design & Planning Phase
1.Start with On-Site Assessment
Before diving into installing your pergola, the first step is to analyze your outdoor space. Our designers evaluate factors such as area size, height restrictions, sun exposure angles, and surrounding landscapes to avoid mismatches between the pergola and your site—which could lead to costly rework.
Before starting construction, ask yourself these three questions:
- Where is the optimal location for your outdoor pergola?
- What size fits your space best?
- Will it be attached to your home or a freestanding structure?
Once you’ve answered these, mark the pergola area on-site with rope to visualize the final result. Pay close attention to ground conditions—such as flatness, drainage smoothness, foundation load-bearing capacity, and underground utilities—all of which must be evaluated in advance for seamless aluminum pergola installation.
2. Material Selection & Craftsmanship
3. Great Design = Successful Pergola Installation
Next, design your pergola style. Professional design teams consider multiple dimensions to ensure the pergola is both aesthetically pleasing and functional. After communicating your needs, engineers use 3D modeling and CAD drawings to simulate visual effects and structural layouts. We also offer a dedicated app for design simulation, helping you make the best choice for your aluminum pergola installation.
4. Do I Need Custom Pergola Installation Services?
Basic DIY kits may limit style, function, and future upgrades. To get the most out of your aluminum pergola installation, list your use cases (dining, reading, outdoor office) to determine if custom pergola installation services or additional features are needed.
We highly recommend pre-burying electrical and drainage systems during pre-installation—this avoids rework later and supports seamless aluminum pergola installation.
By following these steps, you’ll initially design a solution that balances aesthetics and functionality for your outdoor pergola installation!
Pre-Installation Preparation: Lay a Solid Foundation
1. Can I Install the Aluminum Pergola Myself?
2. Tools Needed for Aluminum Pergola Installation
Before starting construction, prepare all necessary tools and materials to ensure a smooth aluminum pergola installation process. We generally recommend the following tools:
| Tools | Recommendations/Uses for Aluminum Pergola Installation |
| Ladder | Install beams, louvers, and roof components |
| Rubber Mallet | Assemble, position, or fit aluminum profiles gently |
| Tape Measure | 5m+ steel tape for measuring foundation size and module spacing |
| Wrenches (Included) | Tighten bolts/nuts; adjustable wrenches fit all connectors |
| Pencil | Mark positioning points on aluminum modules or foundations |
| Level | 2m laser level for calibrating post/beam verticality |
| Drill/Impact Drill | Drill holes in foundations or aluminum modules |
| Cut-Resistant Gloves (Optional) | Prevent scratches from aluminum edges |
| Safety Goggles (Optional) | Protect eyes from metal shavings |
3. On-Site Survey & Data Collection for Precision Aluminum Pergola Installation
Core Data to Confirm:
Environmental Factor Evaluation:
4. Compliance & Permit Confirmation
Step-by-Step Aluminum Pergola Installation Process
Now, let’s move to the most anticipated installation phase! We’ve simplified the process into six steps, applicable to most modular aluminum pergolas:
Step 1. Solid Foundation
Step 2. Post Installation
Start by placing base plates at post positions. Mark installation points per approved drawings, then fasten with bolts using a hex wrench or drill—precision is key for stable aluminum pergola installation.
Don’t forget pre-burying electrical and drainage systems.
Step 3. Beam Assembly
Our prefabricated beams require no on-site cutting—simply connect them to posts. This reduces outdoor pergola installation time and errors. For spans >6m, add auxiliary support beams to prevent deformation.
Step 4. Top Bracket Installation
Start by placing base plates at post positions. Mark installation points per approved drawings, then fasten with bolts using a hex wrench or drill—precision is key for stable aluminum pergola installation.
Don’t forget pre-burying electrical and drainage systems.
Step 5. Cover Installation
Align top brackets precisely, fasten with bolts, and keep them level—this impacts the overall stability of your aluminum pergola installation.
Step 6. Louver & Accessory Installation
Louvers: Install louver shafts and motors, test smooth rotation, and calibrate 0°-90° angle adjustment with limit switches.
Accessories:
LED Lights: Wire per circuit diagrams with waterproof connections.
Sun/Wind Screens: Install rails, fix screens, and test smooth lifting.
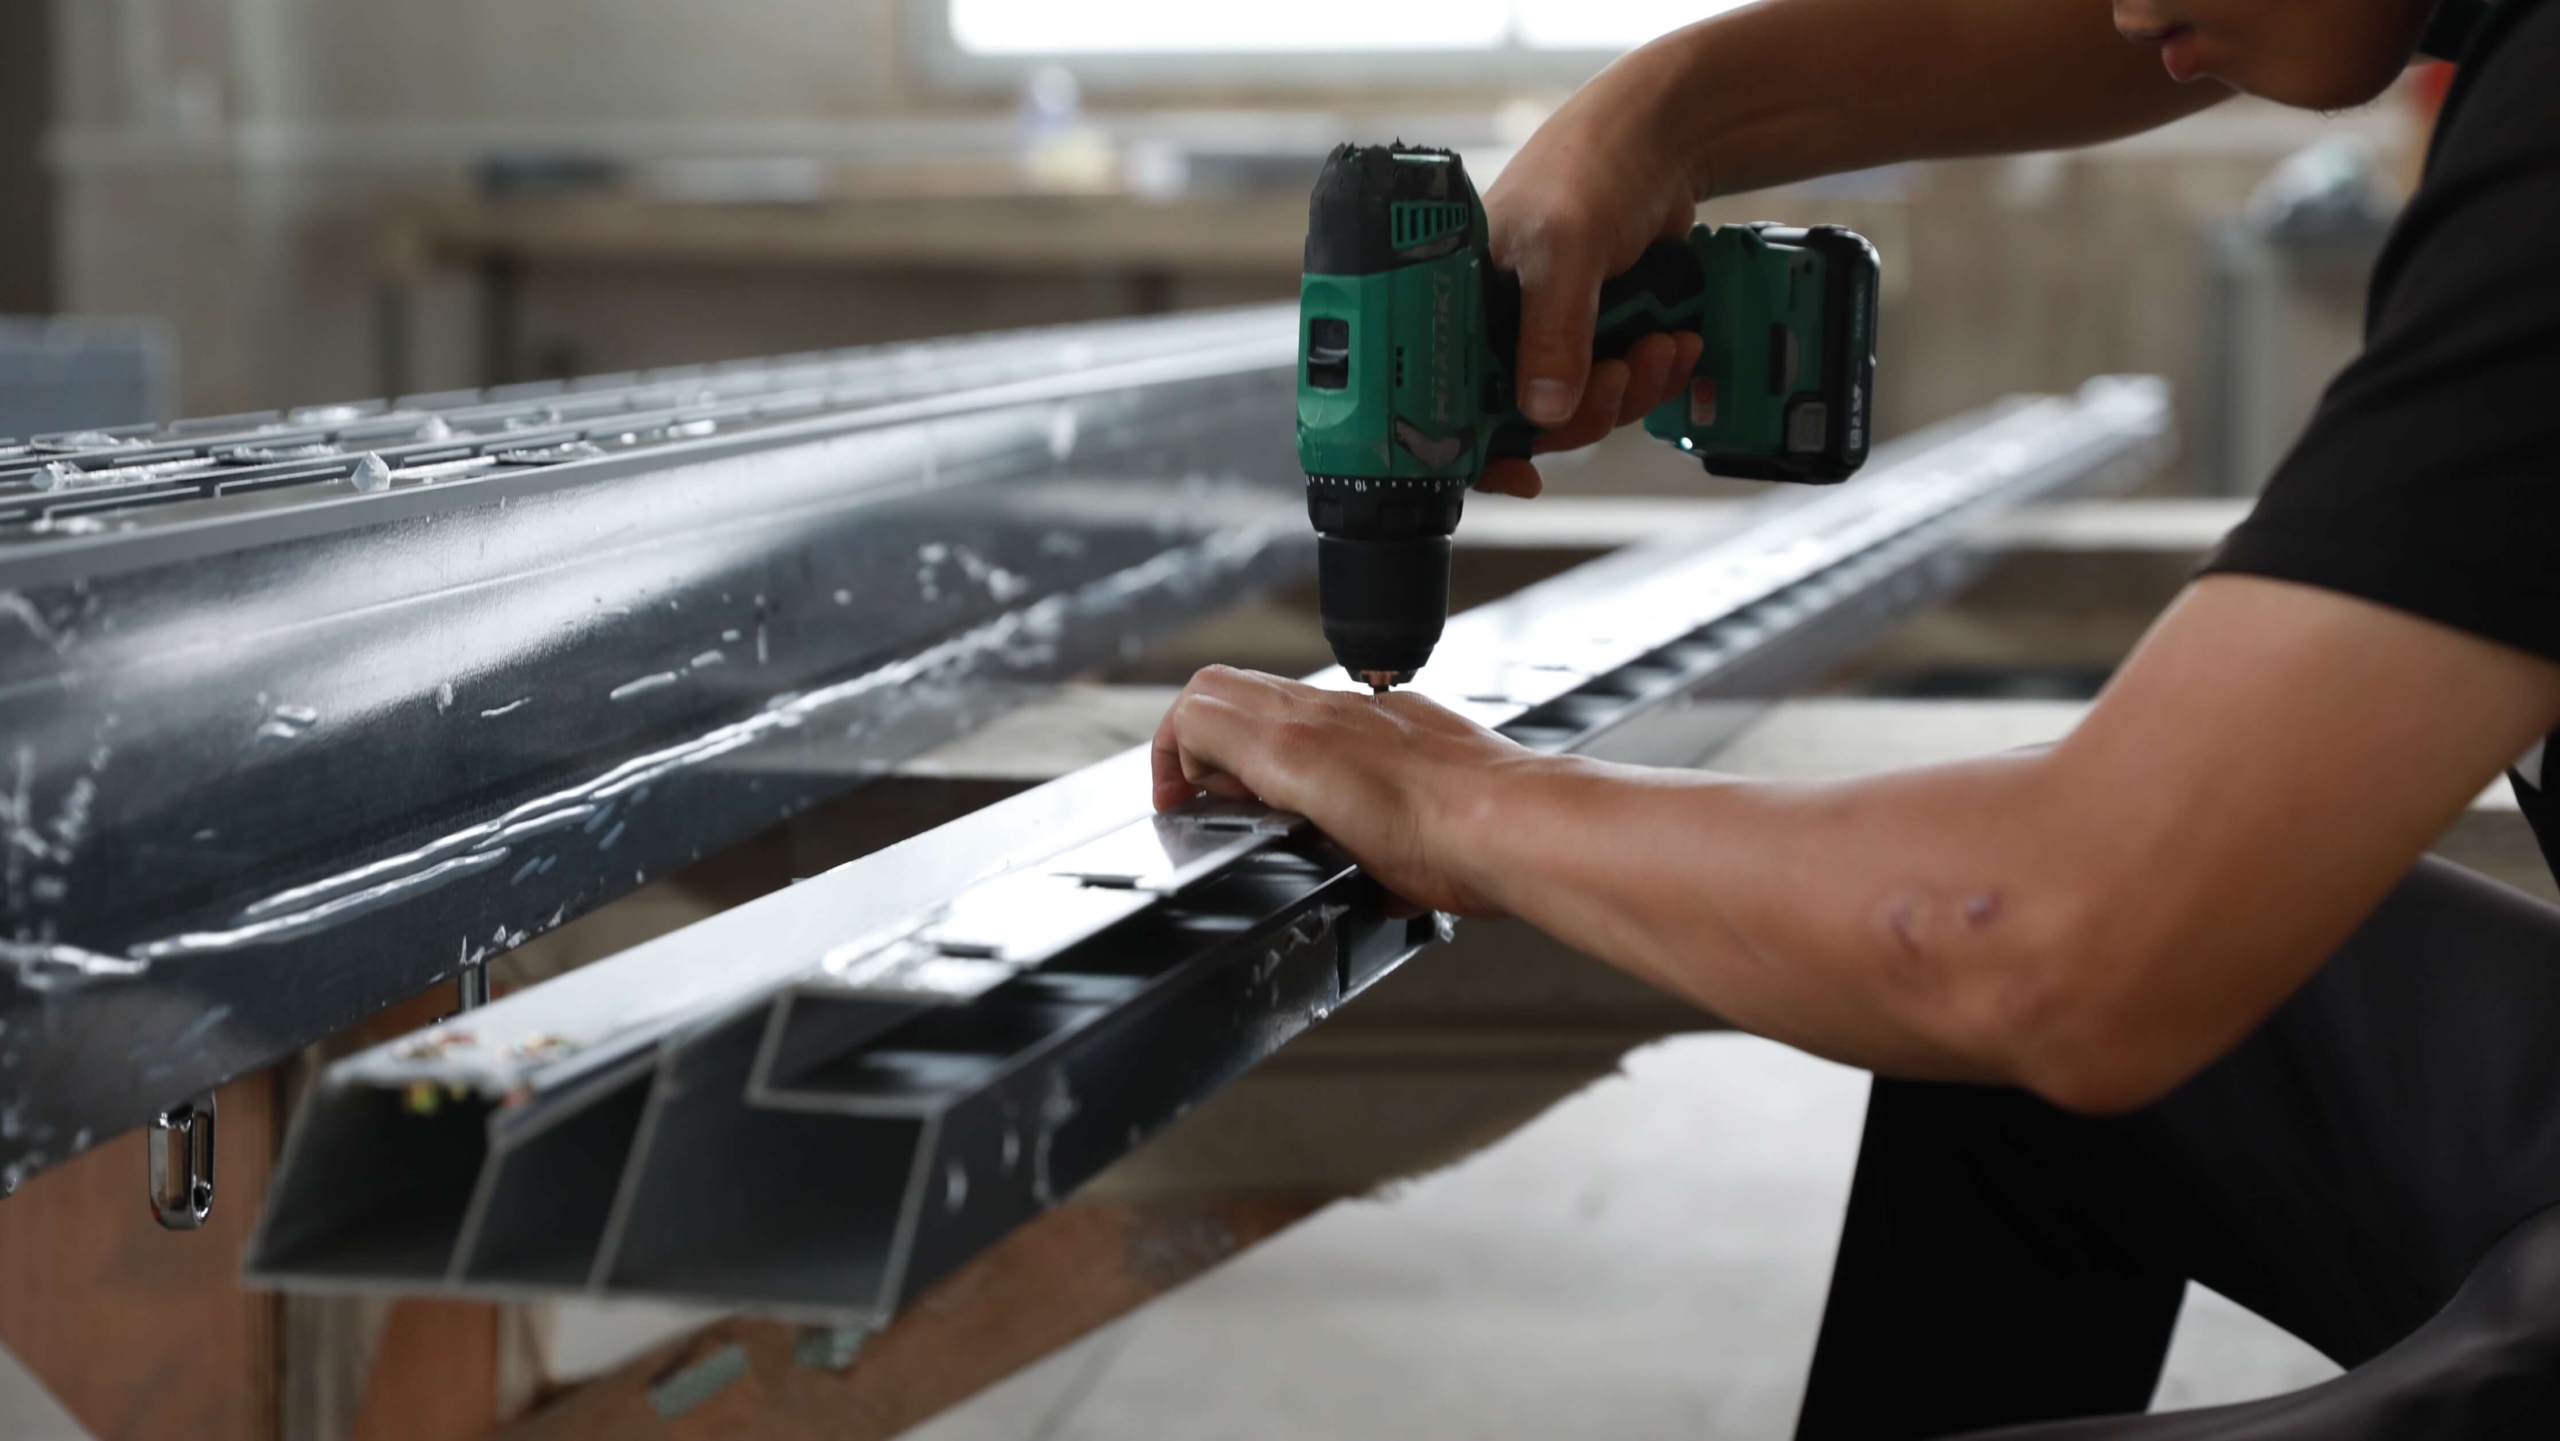
Inspection & Acceptance to guarantee Installation Quality
Inspection and acceptance are crucial for any aluminum pergola installation project. They not only ensure quality and safety but also help avoid future issues and reduce rework risks. We divide this process into two phases: pre-shipment factory inspection and on-site self-inspection during installation.
Pre-Shipping Factory Inspection
Before shipping, we verify product completion and 80%+ packaging progress. Samples undergo rigorous checks (appearance, size, accessories, labels, packaging) to ensure compliance with aluminum pergola installation standards. Key aluminum components (connectors, welds, rust-proof coating) are inspected for defects. Functionality tests confirm “ready-to-install” status, and we provide material certificates. Only after approval do we ship, minimizing logistics and return risks.
On-Site Self-Inspection During Installation
To ensure standardized aluminum pergola installation, we’ve compiled a key checklist for installers:
| Items | Inspection Details for Aluminum Pergola Installation |
| Structural Stability | Manually shake the frame; no obvious wobble or loose connectors |
| Functionality | Smooth louver rotation, light switching, and screen lifting |
| Appearance | No scratches on aluminum profiles; uniform color; joint gap ≤1mm |
| Smart System Calibration | Panel/APP initialization and sensor calibration |
| Lighting System | Correct wiring, normal brightness, and responsive switching |
| Electric System | Functional motor, remote/wall control, and weather sensors (if equipped) |
| Drainage System | No standing water, leakage, or overflow after manual water testing |
Aluminum Pergola Maintenance Tips
Aluminum pergolas have low maintenance needs, but these pergola installation tips will extend their lifespan by ~40%:
- Regularly check for damage/wear and address issues promptly.
- Clear leaves/debris from drains; rinse stains with a water gun.
- Lubricate louver shafts and slides every 6 months; inspect fasteners, drainage, and smart systems.
- Seasonal checks: Spring (fasteners/louver smoothness), pre-rainy season (drainage cleaning), pre-winter (seal integrity and cold/snow resistance).
Conclusion
With 28 years of OEM experience and aluminum pergola installation practices in 139 countries, Greenawn is trusted by thousands of contractors and developers worldwide.
Whether you’re expanding commercial outdoor seating or upgrading a residential patio, our modular aluminum pergolas offer easy installation—even if you lack time, tools, or expertise. Our solutions combine cutting-edge design, premium materials, and smart technology for year-round durability.
We empower B2B partners with:
- Advanced OEM/ODM custom pergola installation services
- Global delivery and installation support
- Reliable after-sales and technical assistance
Need custom pergola installation services or project collaboration? Contact Greenawn today for tailored aluminum pergola installation solutions!